Making a Pattern Three Ways with Pressed Flowers
Oct 22, 2026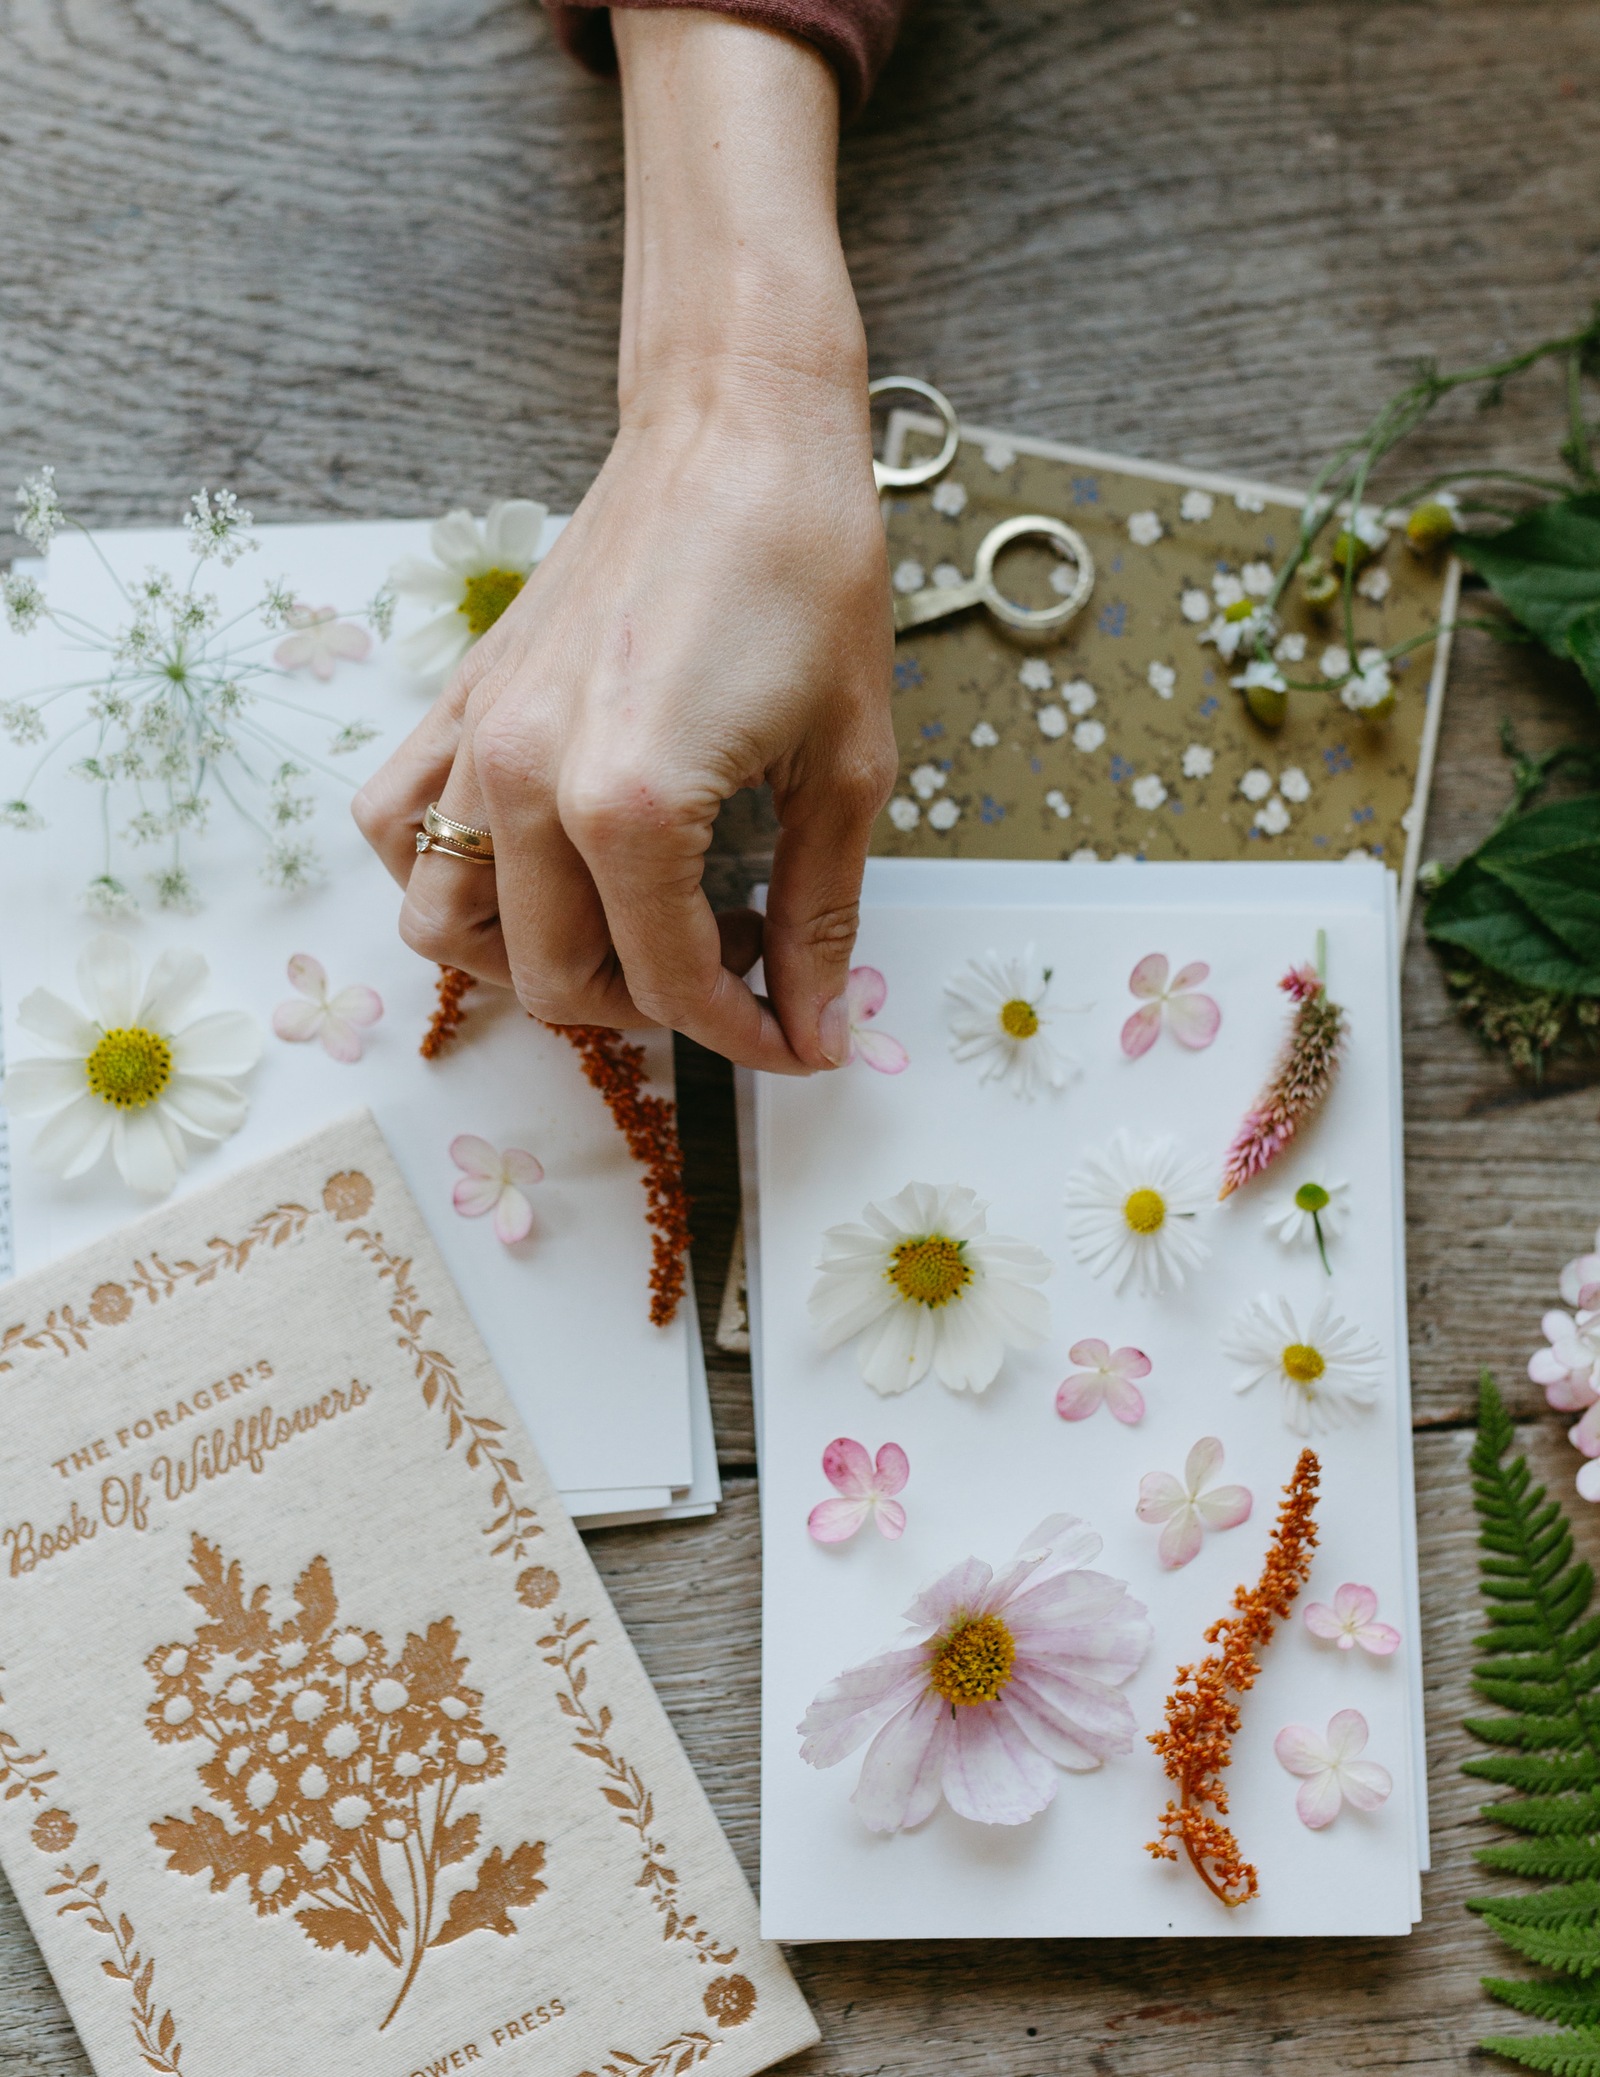
By: Bonnie Christine
Story Adapted From Pattern Magazine – Volume 4
Pattern Magazine is Bonnie Christine's quarterly print and digital publication for surface pattern designers, artists, and creative entrepreneurs who believe that how you live shapes what you make. This story first appeared in Volume 4, Expansion & Exposure, the spring 2026 issue.
A DIY tutorial with pressed flowers.
It begins by noticing ...
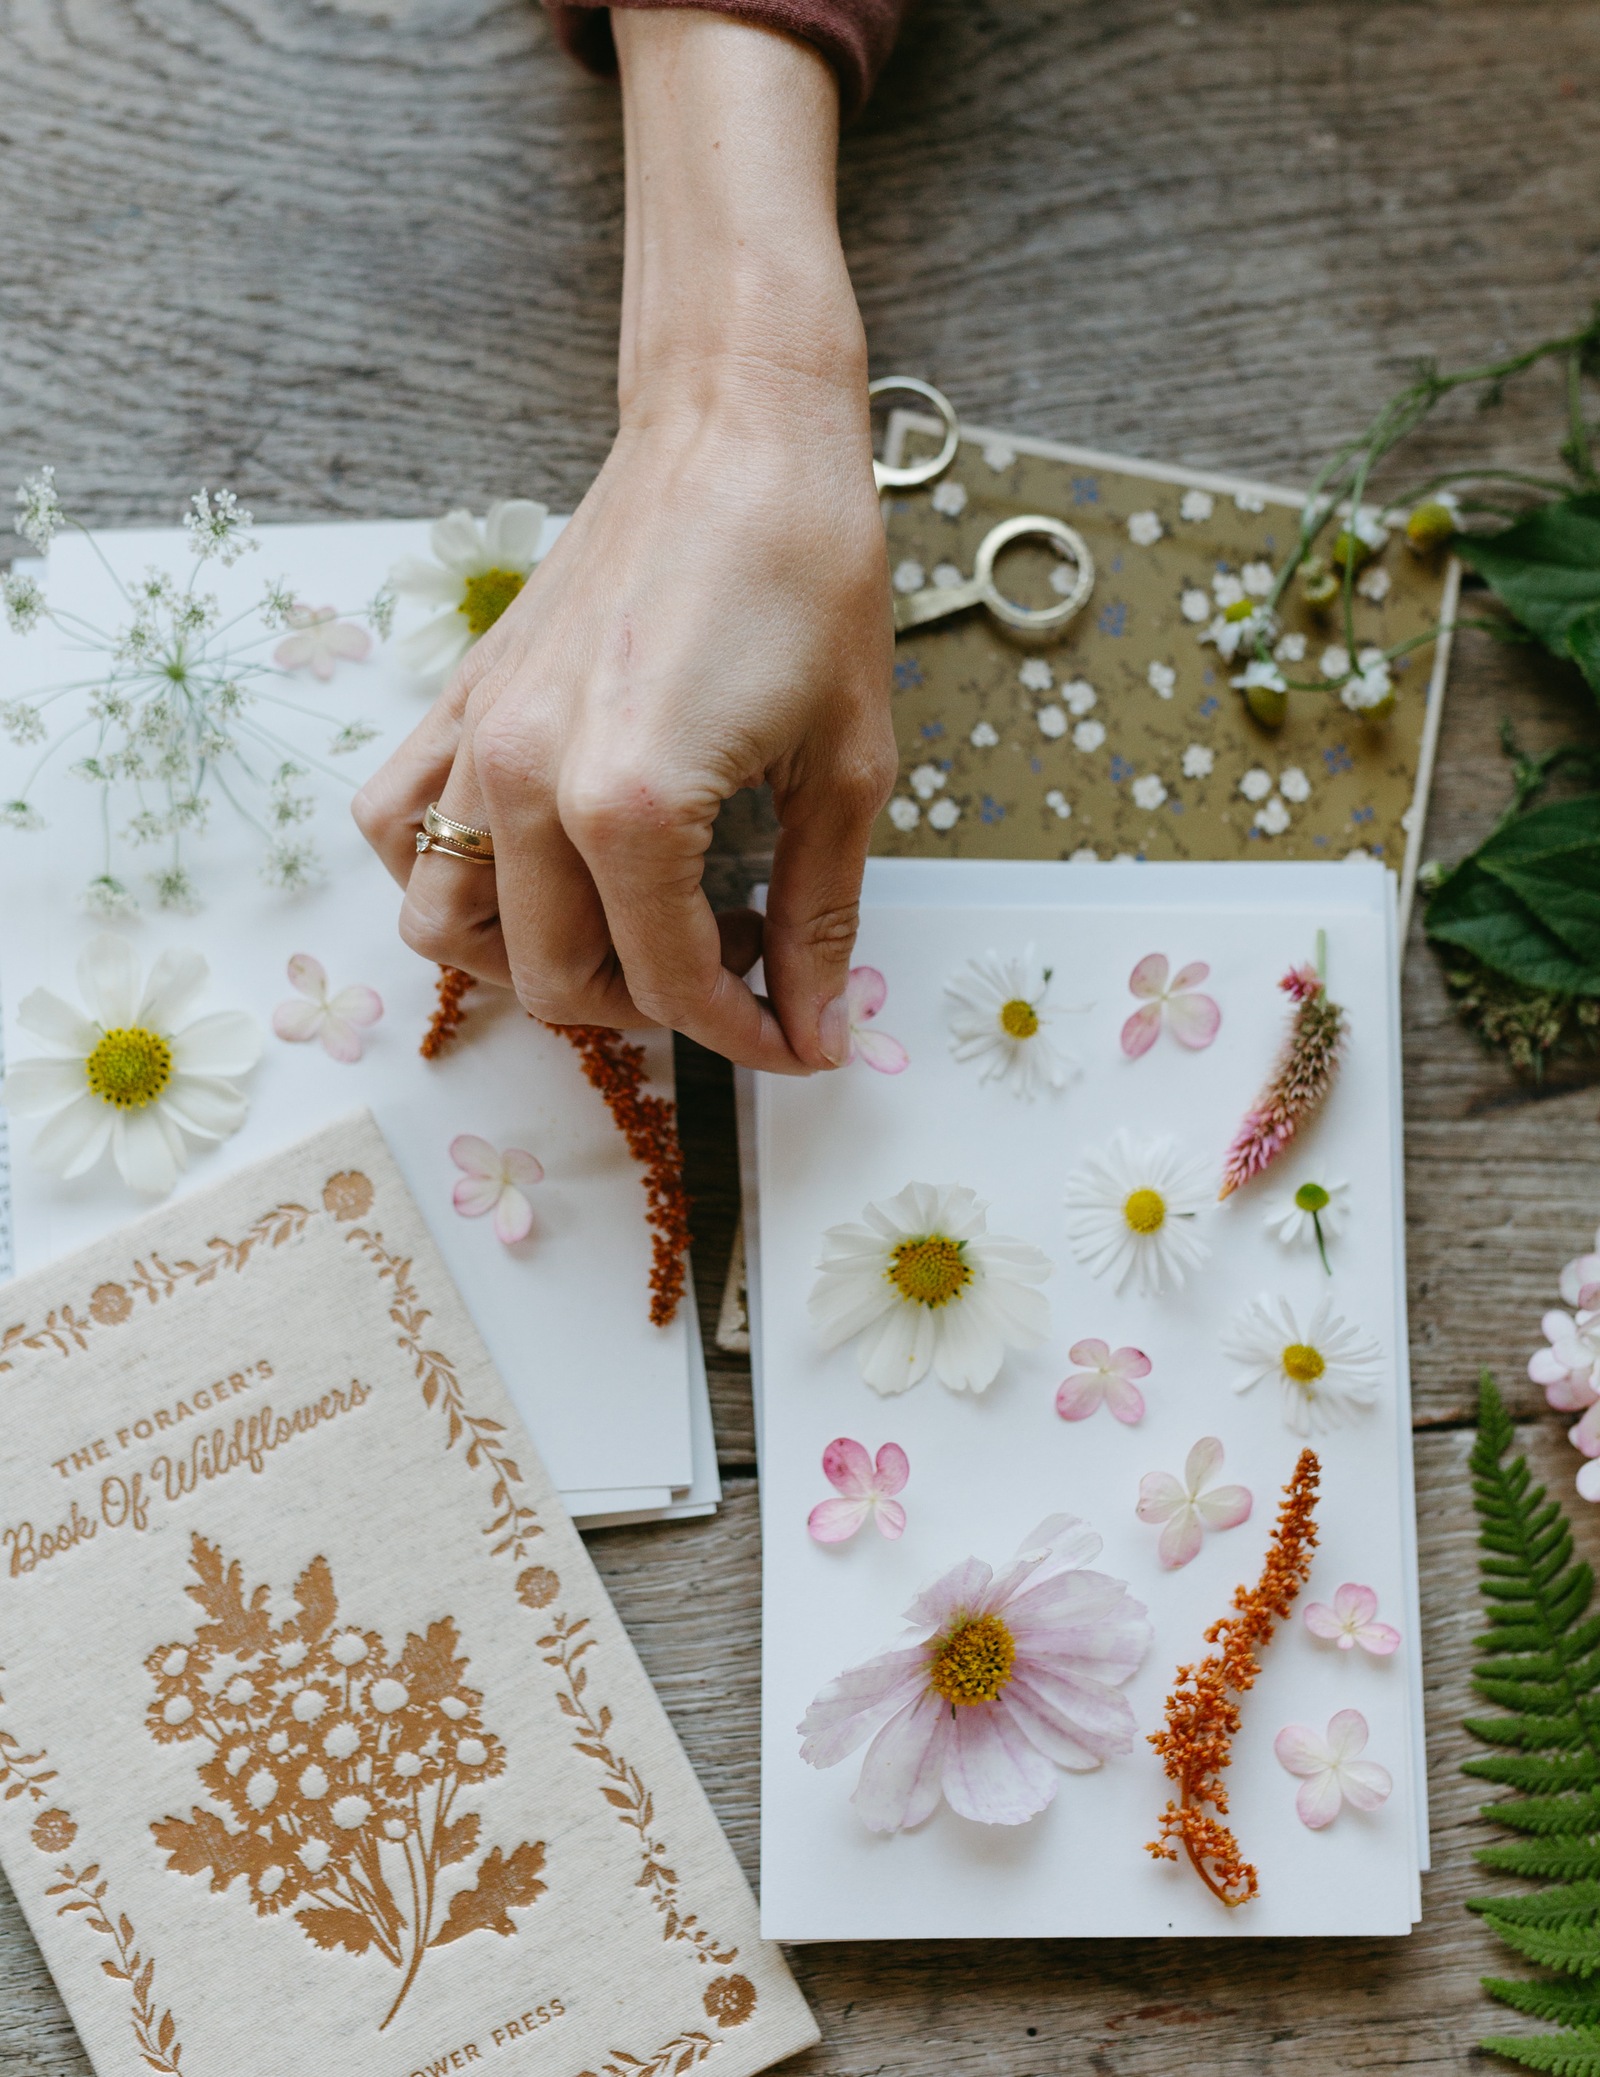
Petals from the first bloom in my garden, leafy sprigs from a morning walk, fern fronds gathered on a family hike, or a collection of my favorite flowers at the end of the summer season. Year-round, I find myself coming back to a simple ritual that helps me preserve a moment in time: pressing flowers.
There’s something tender about placing the flowers between the wooden boards of my flower press, knowing that when I come back to them, they’ll be waiting, their beauty preserved. For me, it doesn’t stop there. Early on in my work, I discovered the joy of using pressed flowers to create repeating patterns that could live on as fabric, ribbon, wallpaper, and more.
Here are three of my favorite ways to turn pressed botanicals into timeless repeating patterns. Each method begins with scanning your flora, using a scanner, or snapping a high-resolution photo on a clean, white background. Once scanned, bring each image into Adobe Illustrator, and follow the steps below.
Method 1: A Colorful Tossed Repeat
Perfect for: All types of blooms and botanicals
Use Illustrator’s Image Trace tool to vectorize your scanned florals. To keep the colors vibrant and true to life, select either the High Fidelity or Low Fidelity preset. Adjust the settings to your liking, then expand each. Arrange your florals on your artboard in a tossed layout to create an intentional but effortless pattern that showcases your florals in all their glory.
Method 2: High-Density Repeat Using Filled Shapes
Perfect for: Leafy stems and foliage
This method is all about texture. Choose the Sketched Art preset in the Image Trace panel to capture the contours of your scans. Adjust the noise and threshold settings to bring out all those imperfect edges and fine details. Once vectorized, place your repeats on your artboard, layering and overlapping them to create a dense repeat. The eye won’t be able to discern where one stem ends and the next one begins, creating a beautiful, visually interesting pattern.
Method 3: Filled Shapes + Sketchy Details
Perfect for: All types of flora
Begin as you would with Method 2. Once your shapes are traced and expanded, use the Pencil or Blob Brush Tool to hand-draw the details of your blooms and foliage, layering them on top for a sketchy, loose look that shows your unique hand. This method is perfect for a tossed repeat, but it is lovely in any layout. It’s my favorite way to blend the beauty of nature with the charm of a hand-drawn sketch.
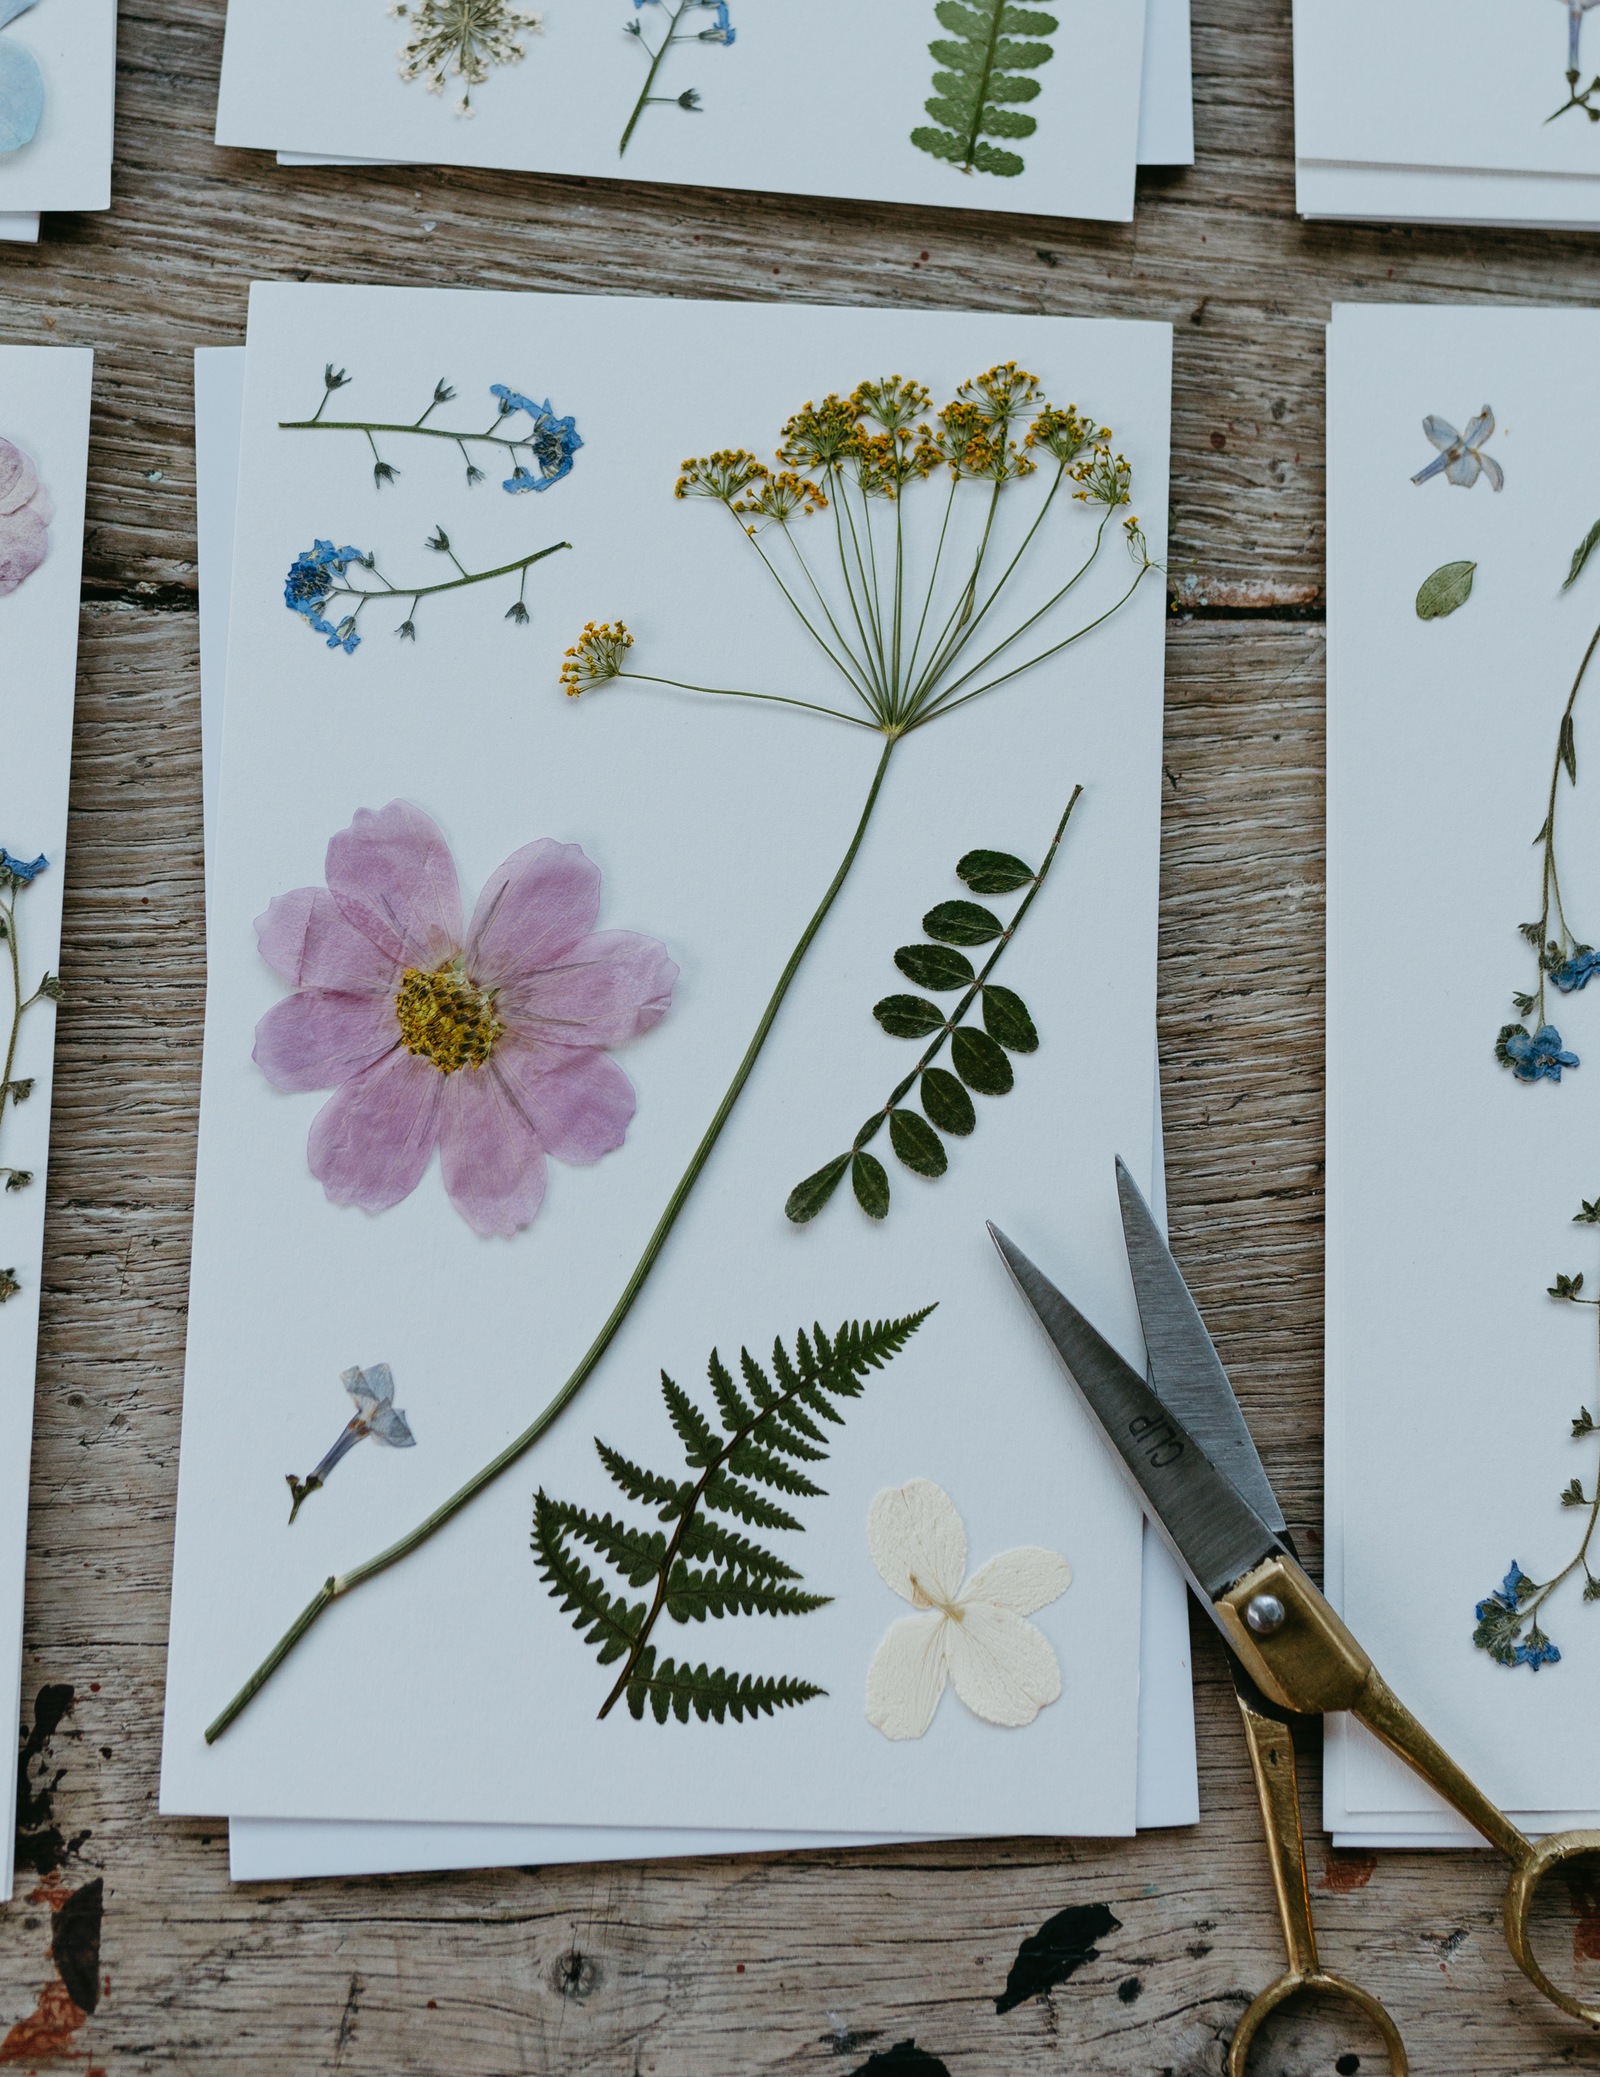
Now it’s your turn to notice and gather, to press each bloom and play. Let this season of awakening beauty inspire you to create something new with pattern. Start by looking around you, and see where your curiosity leads you.
Wanting More?
This story comes from Volume 4 of Pattern Magazine, Expansion & Exposure. You can find the spring issue at bonniechristine.com/patternmagazine.
Get The Pattern Post in your inbox
The week’s news from the creative industry, with my spin on it, every Tuesday. Free, and yours to pause whenever you like.
We honor your email. We will never sell your information, for any reason.